Using the Divide Operation
Now that you’ve mastered the basic pathfi nder operations, we’ll
continue with one of the more advanced functions, Divide. In this
exercise, we’ll be focusing on the robot’s mouth and fi ngers, and
the cartoon speech bubble.
1. Open the ghost artwork in progress. If you still have
the artwork open from the last exercise, great. Other-
wise, open the fi le you saved from the previous exer-
cise, or the Unite and divide.ai fi le in the Lesson 06
inside the Lesson Files-AIcs5 1on1 folder.
2.
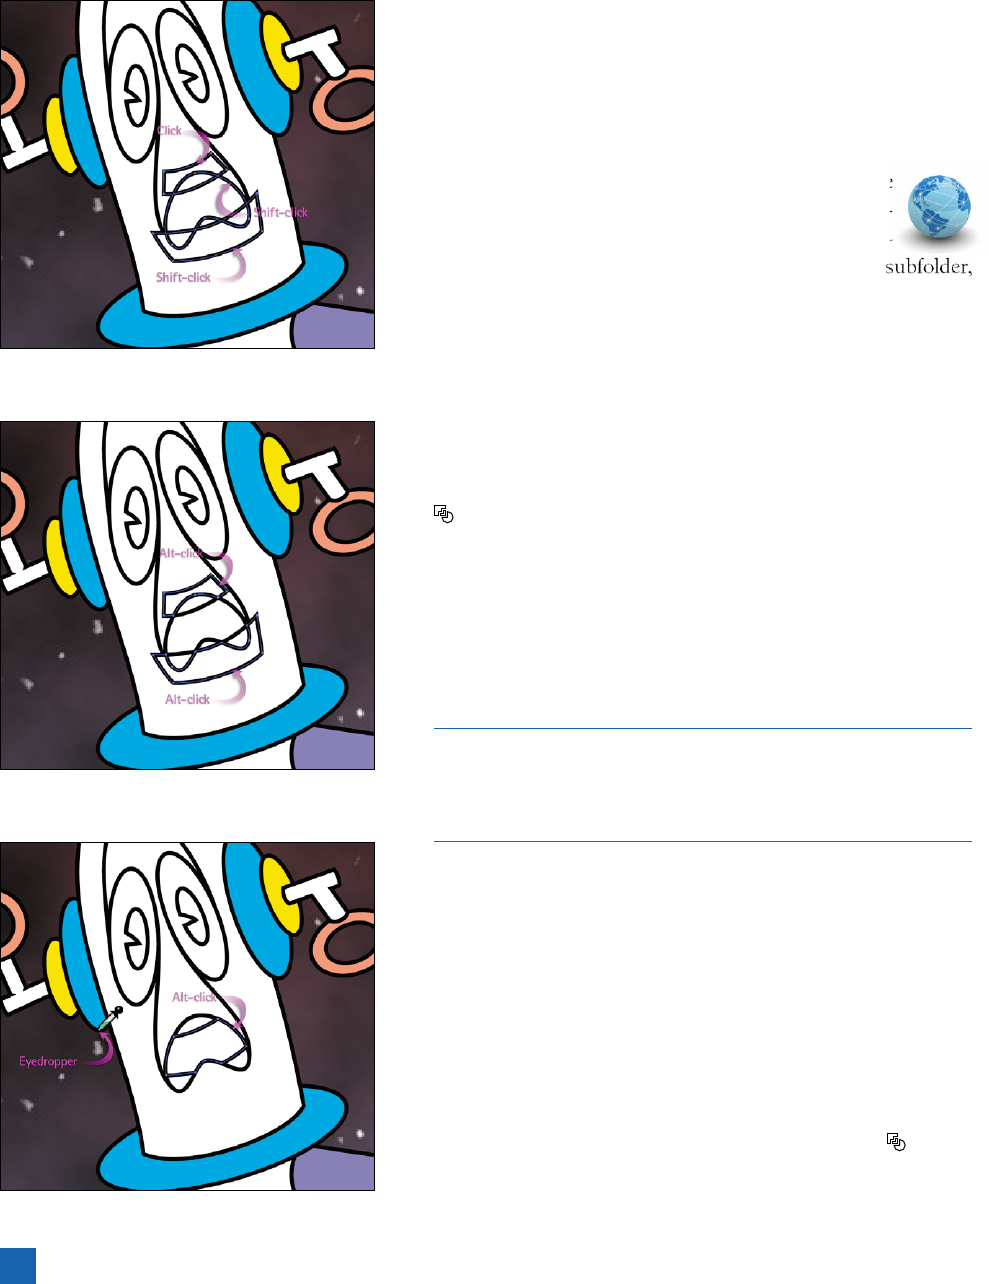
Select the paths that make up the mouth. First, we need to
clean up the robot’s mouth—the outer shapes are in the way.
Using the black arrow tool, click to select one of the paths that
makes up the mouth, and then Shift-click to select the other
two, as in Figure 6-22.
3. Divide the paths. Once you have the paths selected, click the
icon. Illustrator splits the three paths into all their overlap-
ping components—in this case, a total of six paths. Deselect
everything by pressing Ctrl+Shift+A (-Shift-A).
4. Delete the extraneous paths. Press the A key to switch to the
white arrow tool, and then Alt-click (or Option-click) the top
rectangle path, as in Figure 6-23. Press Backspace or Delete
to delete it. Repeat the process for the lower rectangular path.
It’s worth noting that the Divide command creates a group of paths
rather than a compound path. Divide suits our purposes in the next
step because a group’s individual elements can have stroke and path
attributes applied independently, but a compound path’s cannot.
5. Fill the inner mouth with blue. Alt-click (or Option-click) the
inner mouth segment (the one that resembles a pair of cartoon
shorts, shown in Figure 6-24) to select it. Switch to the eyedrop-
per tool by pressing the I key, and then click the outline of the
left blue oval to copy its attributes.
6.
Select and divide the two thumb shapes on the left hand. Now
to fi x our robot’s broken thumbs. Switch back to the white
arrow tool by pressing the A key, and while pressing and hold-
ing the Alt (or Option) key, marquee the two thumb shapes as
shown in Figure 6-25 on the facing page. Click the
icon to
split apart the paths. Press Ctrl+Shift+A (-Shift-A on the Mac)
to deselect the new group.
Figure 6-22 .
Figure 6-23 .
Figure 6-24 .
188
Lesson 6: Pathfi nder Operations
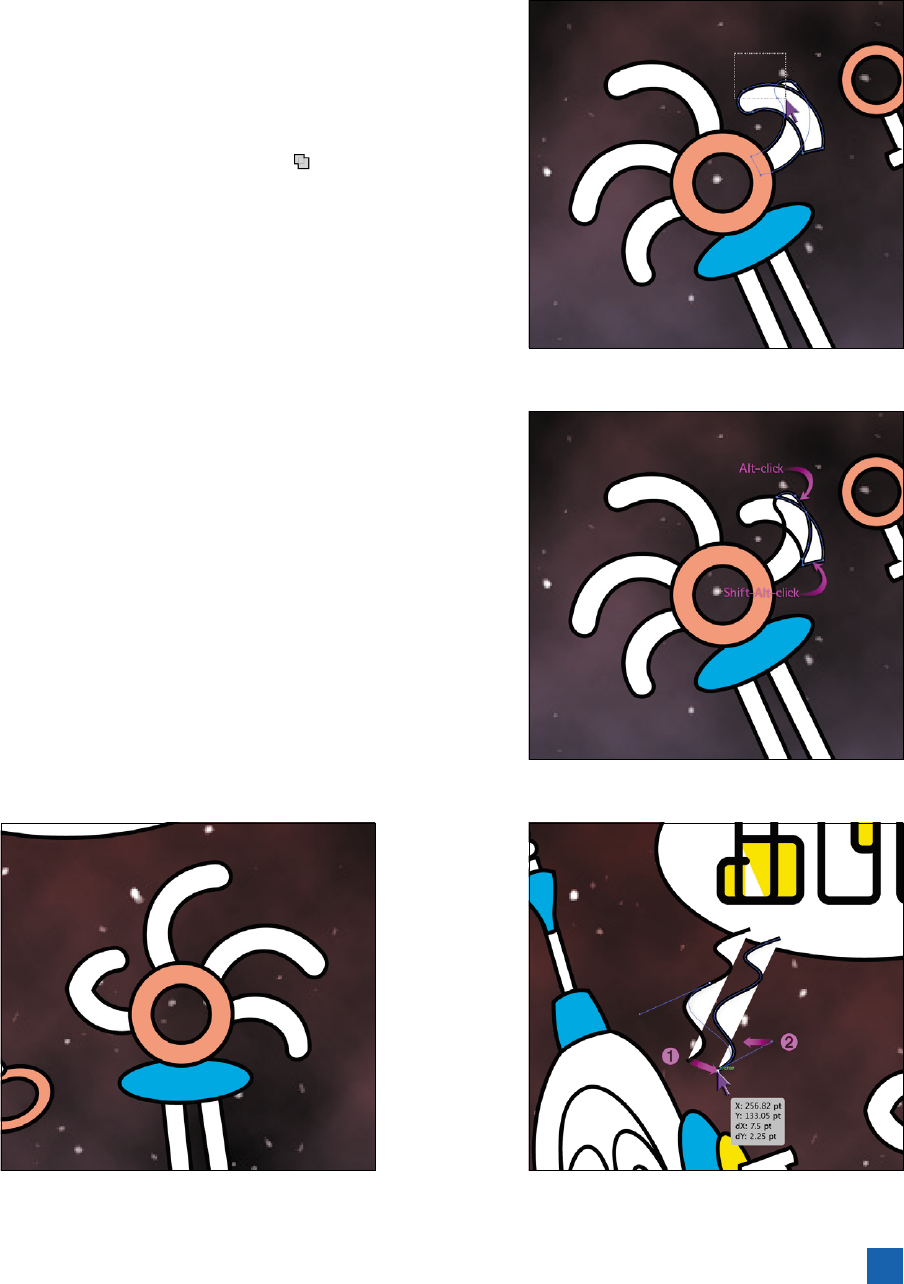
7.
Delete the extraneous pieces. We don’t need the two outer
pieces of the thumb. Alt-click (or Option-click) the fi rst, and
then Shift+Alt-click (Shift-Option-click) the second, as shown
in Figure 6-26. Press Backspace or Delete to remove the pieces.
8.
Unite the remaining pieces. Switch to the black arrow tool, and
select the remaining pieces. Click the icon in the Pathfi nder
panel to unite them. One thumb repaired!
9.
Repeat for the thumb on the right hand. Repeat Steps 6 through
8 for the other thumb, taking care to fi rst switch to the white
arrow tool before repeating Steps 6 and 7. Your results should
look like Figure 6-27.
10. Move the left endpoint to overlap the right. Now it’s time to
turn your attention to the talk balloon—which at the moment
looks more like two white fl ags waving under an oval. But don’t
surrender yet! You’ll whip the talk balloon into shape over the
next few steps.
• Switch to the white arrow tool.
•
Select the endpoint at the bottom of the left squiggle by
clicking it, as shown in Figure 6-28, and move it over to
overlap the squiggle on the right. If you have Smart Guides
turned on, you will see the word anchor in green when the
points are aligned.
• Finally, move the control handle to the left to soften the
curve, as indicated by the second arrow in the fi gure.
Figure 6-25 .
Figure 6-26 .
Figure 6-27 . Figure 6-28 .
189
Using the Divide Operation
Get Adobe Illustrator CS5 One-on-One now with the O’Reilly learning platform.
O’Reilly members experience books, live events, courses curated by job role, and more from O’Reilly and nearly 200 top publishers.

