
15. Copy the beveled hand out of its group. We’re nearly there.
While I like the look of the paler brown hand, I wish the stroke
were still 100% black. Unfortunately, since I asked you to change
the opacity of the group, the opacity of that stroke alone can’t
be restored because—as you’ll see in this step—the opacity of
the stroke is still set to 100. Here’s the trick for copying an ele-
ment out of a group:
• Switch to the white arrow tool by pressing the A key.
•
Alt-click (or Option-click) the outer hand path to select
the entire path.
• Press Ctrl+C (-C) to copy the path.
•
Deselect the path by clicking anywhere off the artwork,
and then paste the new hand at the front of the stack with
Ctrl+F (-F).
It’s crucial that you deselect the path before pasting. With nothing
selected, Illustrator pastes to the front of the entire layer. However, if a
piece of artwork is selected, Illustrator pastes it in front of that piece (in
this case, just in front of the group).
Once you paste the path, you’ll see that its opacity is 100%—
demonstrating that while the group itself is translucent, the
individual pieces retain their original opacity.
16.
Change the fi ll of the hand to none. Last step—you’ve restored
the dark stroke, but the fi ll is now obscuring the inner hand
underneath. Remove the fi ll by pressing the
key.
And there you have it! Starting with a simple black line and spiral,
you’ve recreated the fi ctional stop sign, fi rst shown all the way back
in Figure 5-2 on page 139, using a myriad of transformation tools. Along
the way, you’ve learned a few other tricks dealing with groups. In
the next two exercises, we’ll keep with our Native American art
theme and return to the tonalpohualli you fi rst saw in Lesson 2.
Working with the Scale Tool
It’s time to revisit the tonalpohualli from Lesson 2. In this exercise,
you’ll be working exclusively with the scale tool—not only scaling
artwork from its center point, but also scaling around a specifi ed
transformation origin. The transformation origin is the point around
which all of Illustrator’s transformation tools are calculated. While
the transformation origin defaults to the center of the selected ob-
150
Lesson 5: Transform and Reshape
ject (or objects), you can position it wherever you’d like—fl exibility
you’ll take advantage of over the next two exercises.
1.
Open the new tonalpohualli artwork.
gate to the Lesson 05 folder inside the
son Files-AIcs5 1on1 folder, and open the fi le
Tonalpo-new-alli.ai. You’ll see the familiar smiling
face, but this time, the calendar is decked out in
fl ashy Vegas colors, as shown in Figure 5-29.
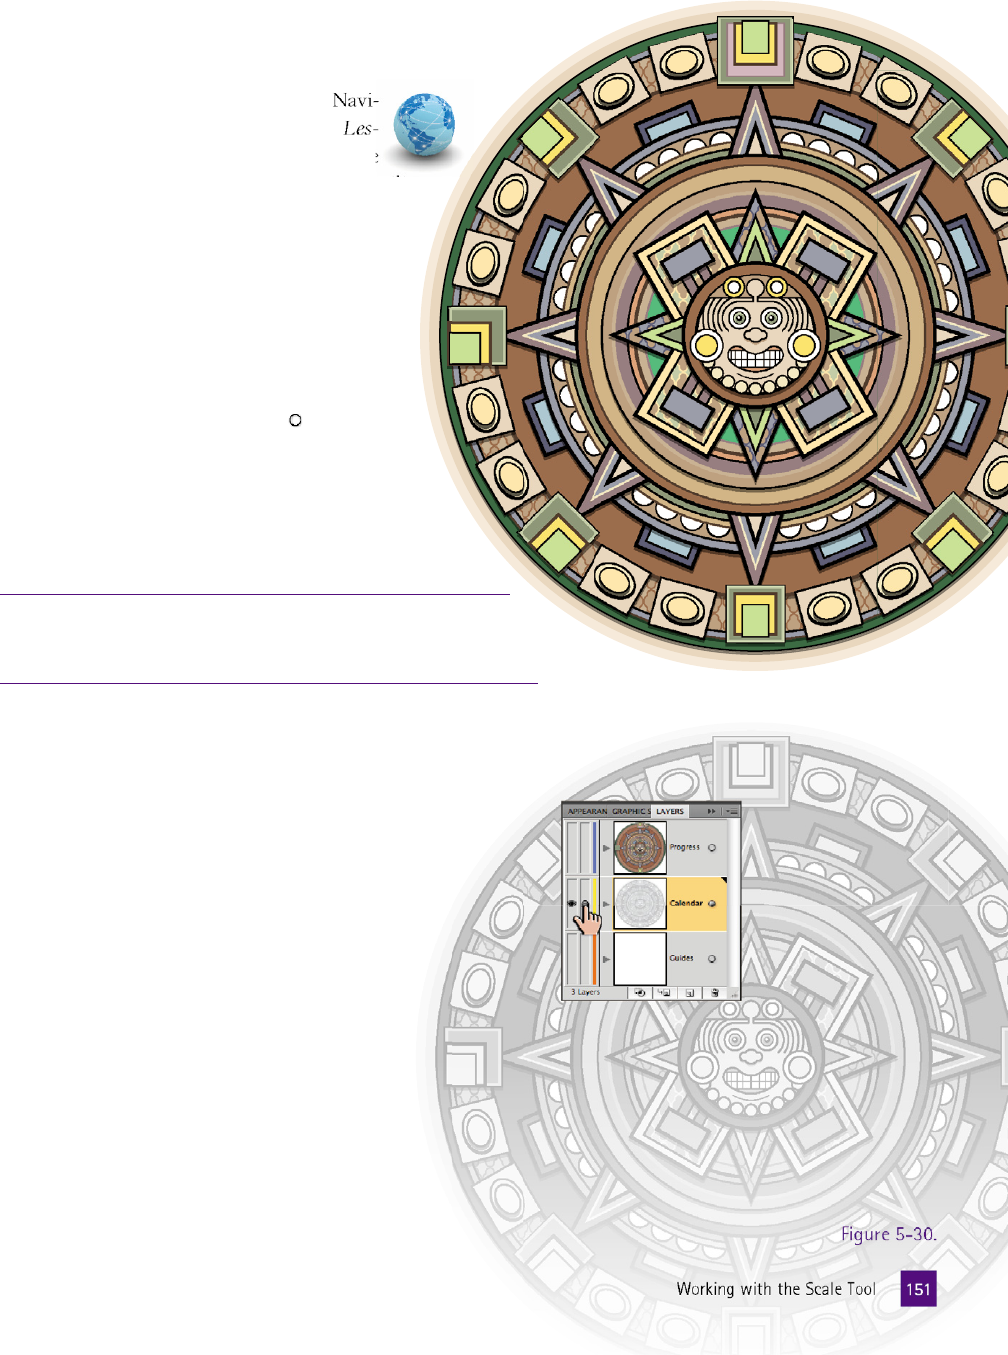
2.
Create a black-and-white tracing template.
While the new colors might be great for the
fi nal art, they’ll likely distract you as you work
through the next steps. Open the Layers panel,
and select everything on the Calendar layer by
meatballing the layer (clicking the icon). Make
the selected art grayscale by choosing Edit➝Edit
Colors➝Convert to Grayscale. In the control
panel, set the Opacity value to 35. Finally, lock
the layer by clicking the second column in the Lay-
ers panel, shown in Figure 5-30.
Note that the Convert to Grayscale function is not an effect but a
permanent change
—
once you convert objects to grayscale using this
method, the color information is gone forever (short of an undo).
3.
Make the Progress layer active. Now that the tracing template
is set, make the Progress layer the active layer by clicking the
layer name, and turn on the layer by clicking the leftmost col-
umn by the layer name.
4.
Clone and scale a circle. The tonalpohualli may not look
like it needs more circles—it has plenty already—but
to match the template, you need precisely three more.
With the black arrow tool, start by selecting the
innermost circle that isn’t part of the god’s face
(the light brown one). Here’s how to scale and
clone the circle:
•
Switch to the scale tool by pressing the S key.
•
Start dragging from one of the corners. You’ll
have much more control with the scale tool
if you start your drag on a diagonal, rather
than directly horizontal or vertical. As you
drag toward the center, the circle will be re-
duced; dragging outward enlarges the shape.
Figure 5-29 .
Figure 5-30 .
151
Working with the Scale Tool
Get Adobe Illustrator CS5 One-on-One now with the O’Reilly learning platform.
O’Reilly members experience books, live events, courses curated by job role, and more from O’Reilly and nearly 200 top publishers.

