109
CREATING AND FORMATTING TEXT
THE ART OF TYPE
is a very nuanced thing. If you’ve seen
one typeface, you’ve seen them all, right? Why not just enter the
text, print it, and be done with it. After all, your artwork is what
really shines in Illustrator—so why should you worry about the
text formatting?
Even given my predilection for typeface geekery, I have to admit
that the differences between one typeface and another are at times
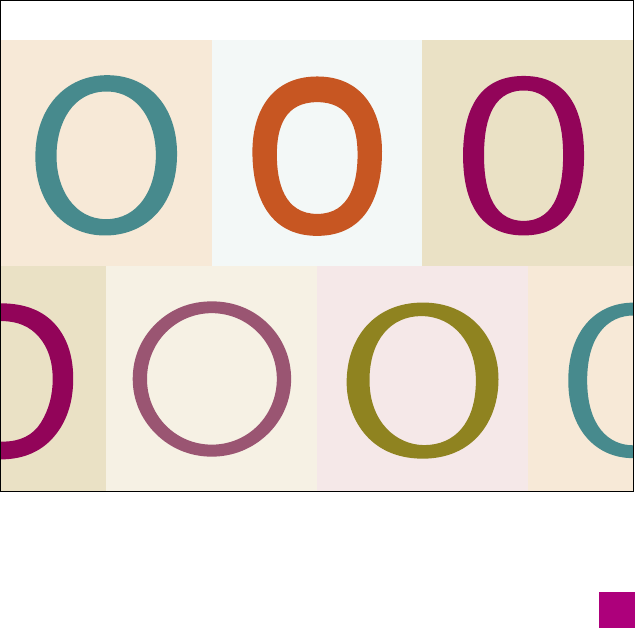
incredibly subtle. Consider Figure 4-1, borrowed from Adobe InDe-
sign CS4 One-on-One. There are seven uppercase O’s from seven
different sans serif fonts. (To learn more about serif and sans serif
typefaces, see the sidebar “The Look
of Type” on page 114.) A type nerd like
me could wax poetic, explaining how
remarkably diverse these letters are,
hailing from three distinct sans serif
traditions. But to the untrained (or
less fanatical) eye, the letters are just
a bunch of ovals. Some look like
rings; others look more like donuts.
But in the end, they’re all still ovals.
The overwhelming majority of your
readers can’t tell a Grotesque O from
a Humanist O, and furthermore they
probably don’t care. It makes you
wonder why Max Miedinger put so
much care into creating his ubiqui-
tous typeface Haas-Grotesk (renamed
Helvetica in 1960)—and why in the
world I know that he did.
Figure 4-1.
Several O’s from different sans serif fonts
Myriad Regular
Antique Olive Roman
Rotis Sans Serif 55
Futura Light
Cronos Regular
News Gothic Medium
Helvetica Medium
ABOUT THIS LESSON
you’ve downloaded the lesson fi les from
www.oreilly.com/go/Deke-IllustratorCS5,
as directed in Step 2 on page xiv of the
Preface. This should result in a folder called
Lesson Files-AIcs5 1on1 on your desktop.
We’ll be working with the fi les inside the
Lesson 04 subfolder.
It’s time to put Illustrator’s type tools to work, including the point
type, area type, and type on a path tools. In this lesson, you’ll learn
how to:
• Place and edit text . . . . . . . . . . . . . . . . . . page 112
• Change the formatting and appearance of type . . . page 117
• Edit blocks of type (known as area type) . . . . . . page 122
• Place type on a path . . . . . . . . . . . . . . . . . page 127
• Work with advanced formatting, ligatures,
glyphs, and other special characters . . . . . . . . . page 129
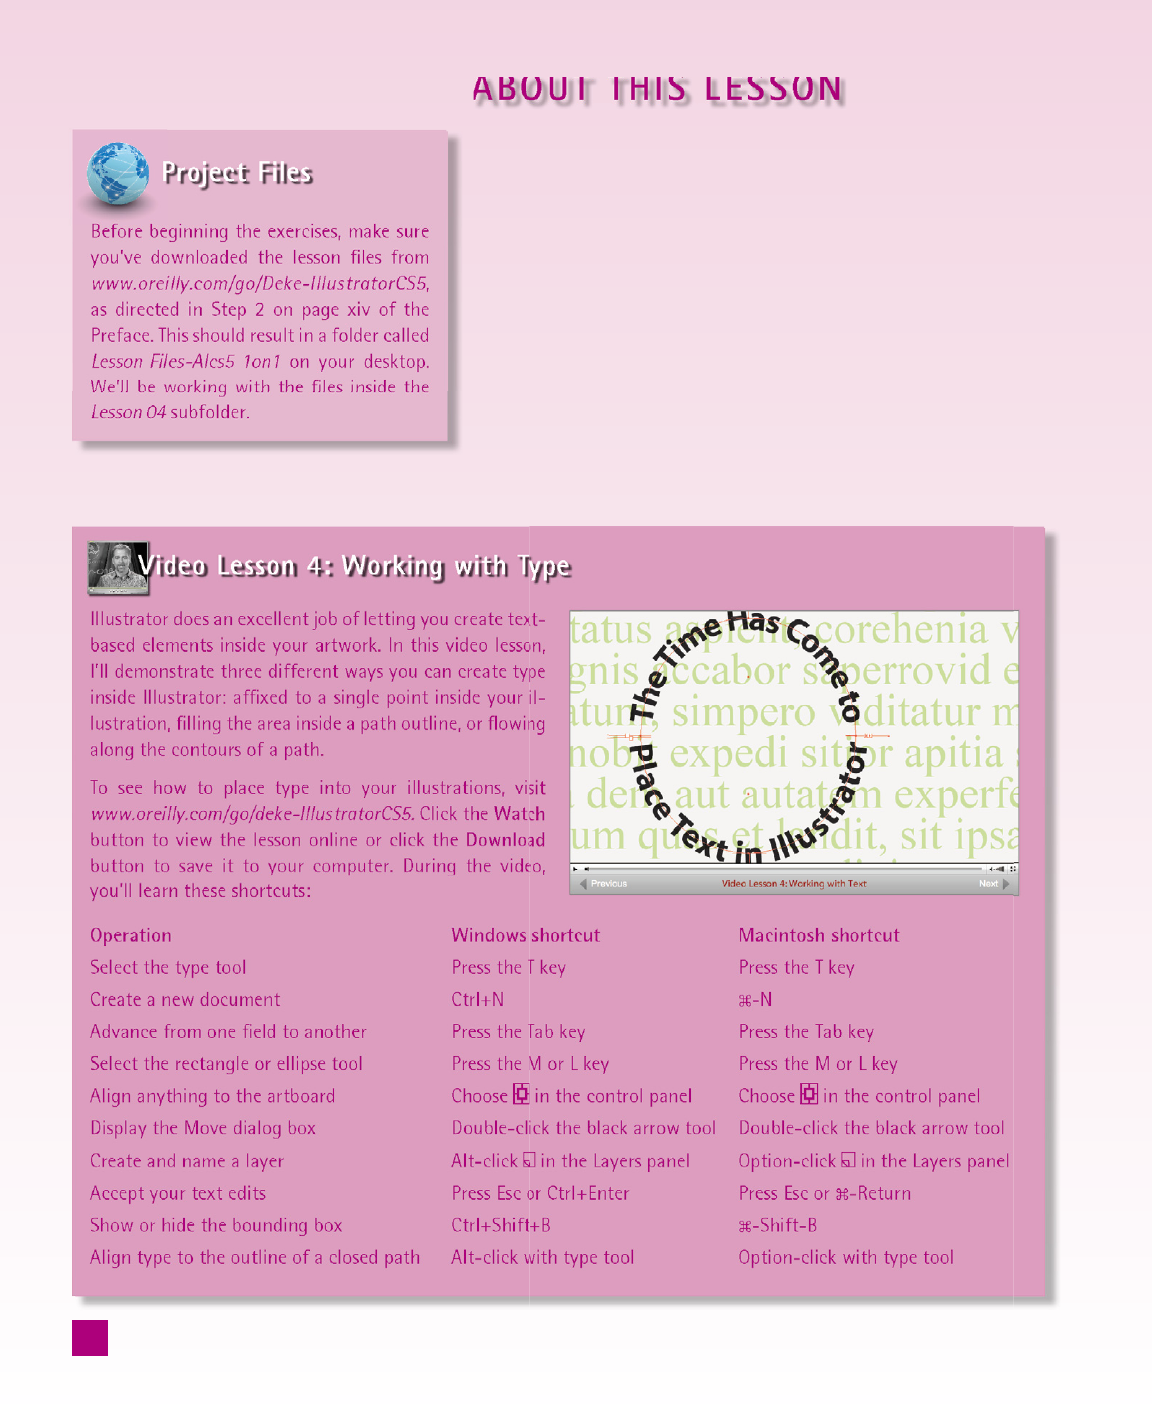
Video Lesson 4: Working with Type
Illustrator does an excellent job of letting you create text-
based elements inside your artwork. In this video lesson,
I’ll demonstrate three different ways you can create type
inside Illustrator: affi xed to a single point inside your il-
lustration, fi lling the area inside a path outline, or fl owing
along the contours of a path.
To see how to place type into your illustrations, visit
www.oreilly.com/go/deke-IllustratorCS5. Click the Watch
button to view the lesson online or click the Download
button to save it to your computer. During the video,
you’ll learn these shortcuts:
Operation Windows shortcut Macintosh shortcut
Select the type tool Press the T key Press the T key
Create a new document Ctrl+N -N
Advance from one fi eld to another Press the Tab key Press the Tab key
Select the rectangle or ellipse tool Press the M or L key Press the M or L key
Align anything to the artboard
Choose
in the control panel Choose in the control panel
Display the Move dialog box Double-click the black arrow tool Double-click the black arrow tool
Create and name a layer Alt-click
in the Layers panel Option-click in the Layers panel
Accept your text edits Press Esc or Ctrl+Enter Press Esc or -Return
Show or hide the bounding box Ctrl+Shift+B -Shift-B
Align type to the outline of a closed path Alt-click with type tool Option-click with type tool
110
Lesson 4: Creating and Formatting Text
Get Adobe Illustrator CS5 One-on-One now with the O’Reilly learning platform.
O’Reilly members experience books, live events, courses curated by job role, and more from O’Reilly and nearly 200 top publishers.

