6.
Align the artwork. From the control panel, shown in Figure 3-6,
make sure the align to artboard icon ( ) is selected. A series of
icons will now appear on the right; click the
icon and then
the
icon to align the artwork to the artboard by horizontal
and vertical centers respectively.
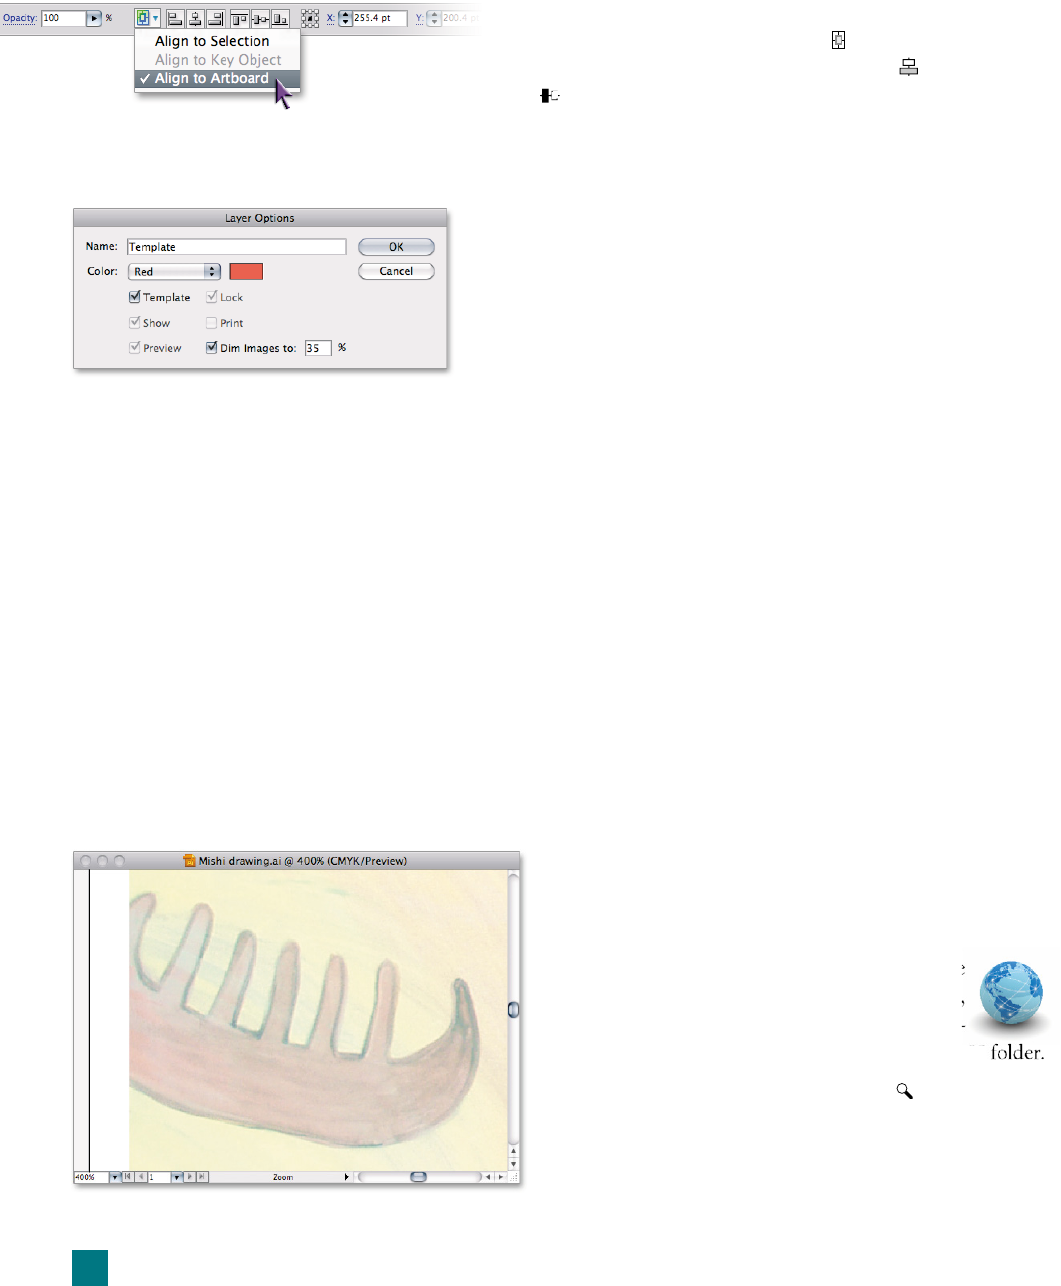
7. Lock the layer and change its options. Click the empty box to
the left of the Template layer name to relock the layer. Double-
click the layer name to bring up the Layer Options dialog box
shown in Figure 3-7, and rename the layer “Template.”
You’ll see a few other options in the dialog box. The Template
check box was set automatically by Illustrator, and as we’ll see
later, it ensures that the layer will be visible in both preview and
outline modes. The Dim Images setting specifi es the percentage
bitmapped images should be dimmed to. (It has no effect on
vector-based shapes.) Change this value to 35% and click OK.
That’s it! You now have a tracing template, ready to use to create
your illustrated mishipizheu—which you’ll start in the very next
exercise. Save your fi le as “Mishi tracing.ai” or something similar
before moving on.
Making Free-Form Polygons
and Spline Curves
Now that you’ve seen how to create a tracing template, it’s time to
put it to good use. In this exercise, you’ll use the pen tool to trace
the strange-looking canoe (or is it a giant comb?) at the far left of
the image. The pen tool launched Illustrator more than 20 years ago
and is arguably still the most powerful and essential tool in Illustra-
Figure 3-8 .
Figure 3-6 .
Figure 3-7 .
tor today. Although using the pen tool requires patience, it
affords you the most control over your artwork—you cre-
ate each path one point at a time. You’ll start by drawing
the simplest shapes the pen tool offers: free-form polygons.
1. Open your tracing template. If you have the
fi le open from the last exercise, great; if not,
open the fi le you saved at the end of the last ex-
ercise or the Mishi drawing.ai fi le in the Lesson 03
2.
Zoom in on the canoe. Select the tool from the
toolbar (or press the Z key). Click a few times on the
canoe to zoom in closely on that part of the artwork,
as shown in Figure 3-8. Make sure the Drawing layer
is active before proceeding.
90
Lesson 3: Using the Pen Tool
Get Adobe Illustrator CS5 One-on-One now with the O’Reilly learning platform.
O’Reilly members experience books, live events, courses curated by job role, and more from O’Reilly and nearly 200 top publishers.

